Building Your First PC: Parts List and Assembly Order
There’s a particular feeling that comes with your first PC build — a mix of excitement at the boxes arriving and a quiet dread that you’ll bend a CPU pin or forget the standoffs. We’ve watched plenty of first-timers go through it, and we’ve made most of the mistakes ourselves over the years. The good news is that building a PC in 2025 is more forgiving than it’s ever been: connectors are keyed, motherboards are well documented, and the community is enormous. This guide is our no-nonsense, UK-focused walkthrough, taking you from a sensible parts list all the way to that first POST beep and a working Windows 11 install.
Choosing Your Parts: What You Actually Need
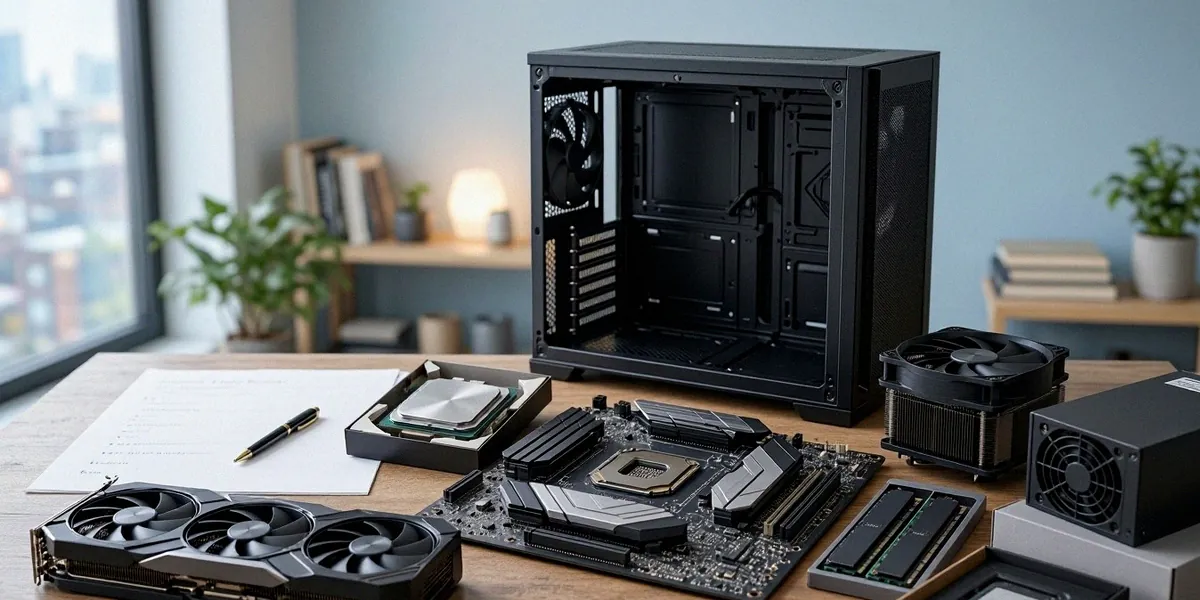
A working PC needs eight core components: CPU, motherboard, RAM, storage, power supply, case, cooling, and a graphics card (unless your CPU has integrated graphics). Everything else — extra fans, RGB strips, capture cards — is optional. For first-time builders in the UK, we usually point people towards Scan, Ebuyer, and Overclockers UK, all of whom have solid returns policies and next-day delivery options. Both AMD Ryzen and Intel Core CPUs are perfectly suitable for first-timers, so pick based on price and platform features rather than brand loyalty.
CPU and Motherboard: The Core Pairing
Your CPU dictates your motherboard socket, so choose them together. An AMD Ryzen 7000 or 9000 series chip needs an AM5 board; an Intel Core 14th-gen chip needs an LGA1700 board. Mid-range options like the Ryzen 5 7600 or Core i5-14400F offer the best value for a first build. Check that the motherboard has the ports you need — at least one M.2 slot, USB-C on the rear I/O, and Wi-Fi if you can’t run Ethernet to your desk.
RAM, Storage, and PSU: Don’t Skimp on the Basics
For RAM, 32GB of DDR5-6000 CL30 is the current sweet spot; 16GB is workable but tight if you game and multitask. For storage, a 1TB or 2TB NVMe SSD is standard. The power supply is where beginners get caught out — buy a reputable 80 Plus Gold unit from Seasonic, Corsair, or be quiet!, and use an online PSU calculator to size it. A 650W unit covers most mid-range builds; 750W gives headroom for a beefier GPU later.
Case and Cooling: Airflow Matters More Than RGB
Pick a case with a mesh front and at least two pre-installed fans. Brands like Fractal Design, Lian Li, and NZXT all make mid-tower cases that are easy to build in. For CPU cooling, a £30–£40 tower air cooler such as the Thermalright Peerless Assassin handles most Ryzen 5 and Core i5 chips without breaking a sweat. RGB is fine, but airflow keeps your components alive.
Assembly Order: Step-by-Step Without the Panic
Here’s the sequence we use in our own workshop. Doing the CPU, cooler, and RAM outside the case saves you from contorting your hands into awkward spaces later.
Preparing Your Workspace and Handling Static
Build on a hard table, not carpet. Touch a bare metal part of the case before handling any component, and ideally wear an anti-static wrist strap clipped to the chassis. Keep pets away, and don’t build standing on a nylon rug in socks. Static damage is rare but real, and it’s entirely avoidable.
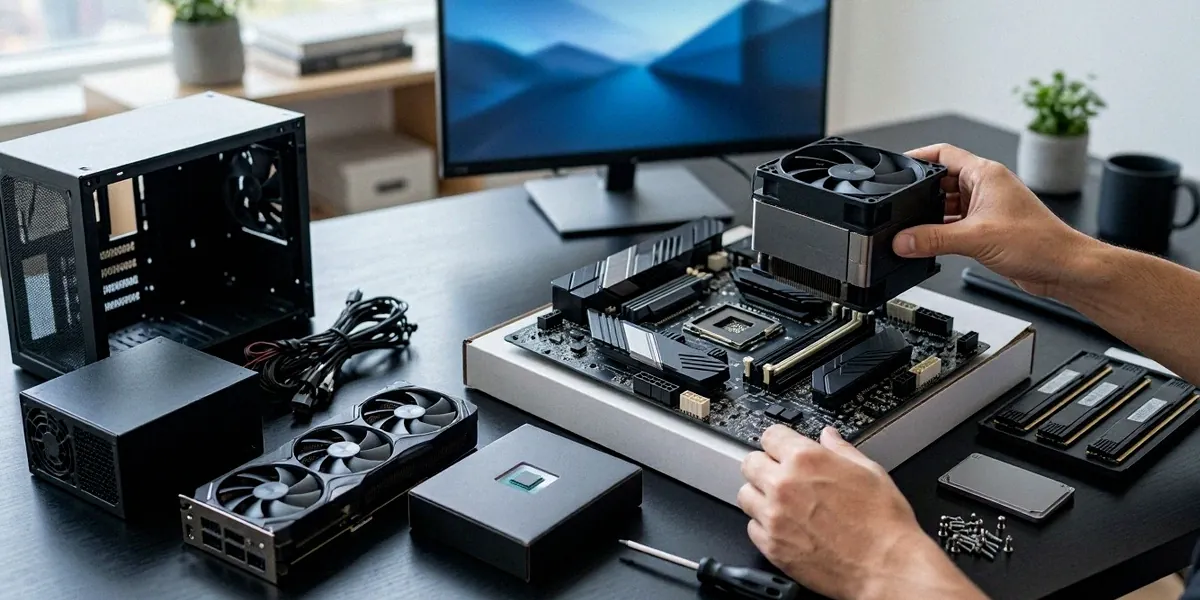
Installing CPU, Cooler, and RAM Outside the Case
- Lift the CPU socket lever and align the triangle marker on the chip with the one on the socket.
- Drop the CPU in — it should fall into place with zero force. Never push.
- Apply a pea-sized dot of thermal paste, then mount the cooler in a diagonal pattern to spread pressure evenly.
- Open the RAM slot tabs and push each stick in until both clips click. Slots A2 and B2 are usually correct for two sticks — check your manual.
- Install your M.2 SSD now, while the board is flat on the table.
Mounting the Motherboard and Connecting Power
Screw the standoffs into the case first — they should match your board’s hole pattern. Lower the motherboard in and start all screws by hand before tightening any. Then connect the 24-pin ATX cable, the 8-pin CPU power (top-left of the board), front panel headers, and the GPU’s PCIe power cables. Route cables behind the motherboard tray where possible for cleaner airflow.
First Boot and BIOS Setup
Plug in the PSU, flip the switch on the back, and press the case power button. Fans should spin, and within a few seconds you should see the motherboard logo. If it’s your first boot, expect a message about no boot device being found — that’s normal until Windows is installed.
What to Do If Nothing Appears on Screen
Don’t panic. Check that your monitor cable is plugged into the GPU, not the motherboard, if you have a dedicated card. Reseat the RAM, verify the 8-pin CPU power is connected, and confirm the PSU switch is on. If the board has debug LEDs, they’ll usually tell you whether it’s stuck on CPU, DRAM, VGA, or boot.
Enabling XMP/EXPO and Checking Temperatures
Your RAM will run at a conservative default speed until you enable XMP (Intel) or EXPO (AMD) in the BIOS. This is essential — without it, your DDR5-6000 kit will sit at 4800MHz. While you’re in there, check CPU idle temperatures (should be 30–45°C) and set the boot order to your Windows 11 USB installer.
Installing Windows 11 and Essential Drivers
Windows 11 installation is straightforward, but there are a couple of UK-relevant quirks worth knowing about.
Creating a Windows 11 USB Installer
Download the Media Creation Tool from Microsoft’s site and use an 8GB or larger USB stick. On the setup screen, if you’d rather not tie your PC to a Microsoft account, press Shift+F10 to open a command prompt, type OOBE\BYPASSNRO, and press Enter. The machine will reboot and offer a local account option instead.
Post-Install Drivers and Windows Update
Install chipset drivers from AMD or Intel first, then GPU drivers from Nvidia, AMD, or Intel Arc. Run Windows Update until it stops finding new patches. Finally, install your motherboard’s LAN and audio drivers from the manufacturer’s support page — Windows often misses these.
Testing and Troubleshooting Your New Build
Before you trust the machine with real work, run a couple of stability tests. It’s much easier to diagnose a fault now than three months down the line.
RAM Diagnostics with MemTest86
MemTest86 is a free tool for RAM diagnostics. Write it to a USB stick, boot from it, and let it run at least one full pass — ideally two. Any errors at all mean a faulty stick or an unstable XMP/EXPO profile. Drop the speed one step and retest.
Stress Testing and Temperature Monitoring
Run Cinebench or OCCT for 20–30 minutes while watching temperatures in HWiNFO64. CPU package temps should stay below 90°C under load. If they don’t, reseat the cooler and reapply paste. On the UK-specific side, check that your case fans are blowing the right direction — front and bottom intake, rear and top exhaust — and confirm your PSU is set to 230V if it has a voltage switch (most modern units are auto-sensing).
UK Buying Tips and Where to Save
Component prices swing constantly, so timing matters as much as retailer choice.
Retailers We Trust for UK Parts
- Scan — watch their daily deals; CPU and GPU bundles often beat buying separately.
- Ebuyer — free delivery kicks in above a modest threshold, handy for smaller orders.
- Overclockers UK — their clearance section frequently has last-gen parts at serious discounts.
When to Buy Used and When to Buy New
Buy new: PSU, storage, and CPU cooler — these have the shortest lifespans and the least resale transparency. Buy used with care: GPUs (check for mining history), cases (usually fine), and RAM (test with MemTest86 the day it arrives). Avoid used motherboards unless you can inspect them in person.
FAQ
How long does a first PC build take?
Allow three to four hours for the physical build, plus another hour for Windows, drivers, and testing. Rushing is the main cause of bent pins and missed cables.
Do I need thermal paste if my cooler comes with some pre-applied?
No — pre-applied paste on stock and many aftermarket coolers is fine. Only buy separate paste if you’re reapplying or the cooler doesn’t include any.
Is it safe to install Windows 11 without a Microsoft account?
Yes. The OOBE\BYPASSNRO command during setup lets you create a local account, and Windows will still activate and update normally.
Why is my RAM running slower than advertised?
XMP or EXPO profiles are disabled by default. Enable the correct profile in BIOS, save, and reboot — your kit should then hit its rated speed.
What if my build won’t POST at all?
Work through the basics: PSU switch on, 24-pin and 8-pin power seated, RAM fully clicked in, GPU in the top PCIe slot. If debug LEDs point to DRAM, try a single stick in slot A2.
Your first build is a learning experience, and almost nobody gets everything right on the first attempt. If something doesn’t POST, a fan spins oddly, or Windows refuses to cooperate, our team is here to help — drop us a message and we’ll troubleshoot it with you step by step.



Post Comment